How to convert HEIC to JPG with iPhone?
Are you struggling with HEIC image compatibility? Are you trying to convert HEIC to JPG with iPhone and without uploading files online? We thought so. That’s why we created this step-by-step process that will help you convert HEIC to JPG with iPhone.
First, let us begin with the information about the model of your iPhone. If you are the owner of iOS 10 or earlier on your phone, you’re OK. There are no HEIC files on older iPhones (we already talked about HEIC file format and its features). But if you have one of the latest models, you will have to change the format of your files. Luckily, there are a few ways for you to convert HEIC to JPG with iPhone.
On this page:
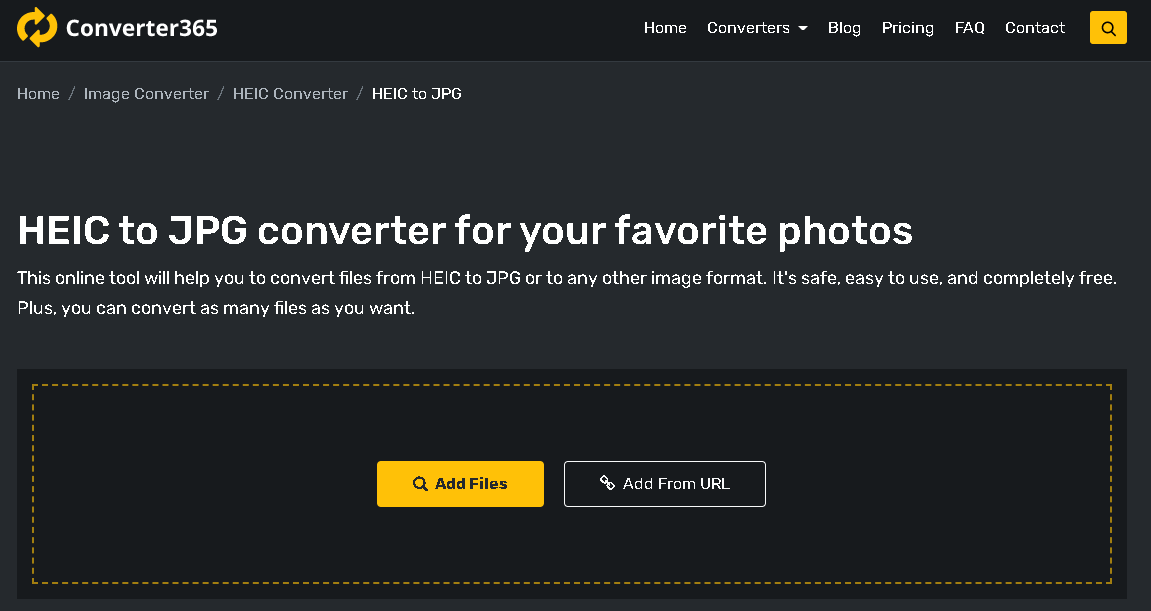
Convert HEIC to JPG with iPhone using Converter365
The fastest and by far the easiest way to convert HEIC to JPG with iPhone is by using our HEIC to JPG converter. But you have to upload files online. However, you don’t have to worry about your files’ safety. All uploaded images are deleted within an hour after the conversion. On the other hand, if you are not interested in using it, there are two more equally effective ways to convert HEIC to JPG with iPhone.
Convert HEIC to JPG with iPhone settings
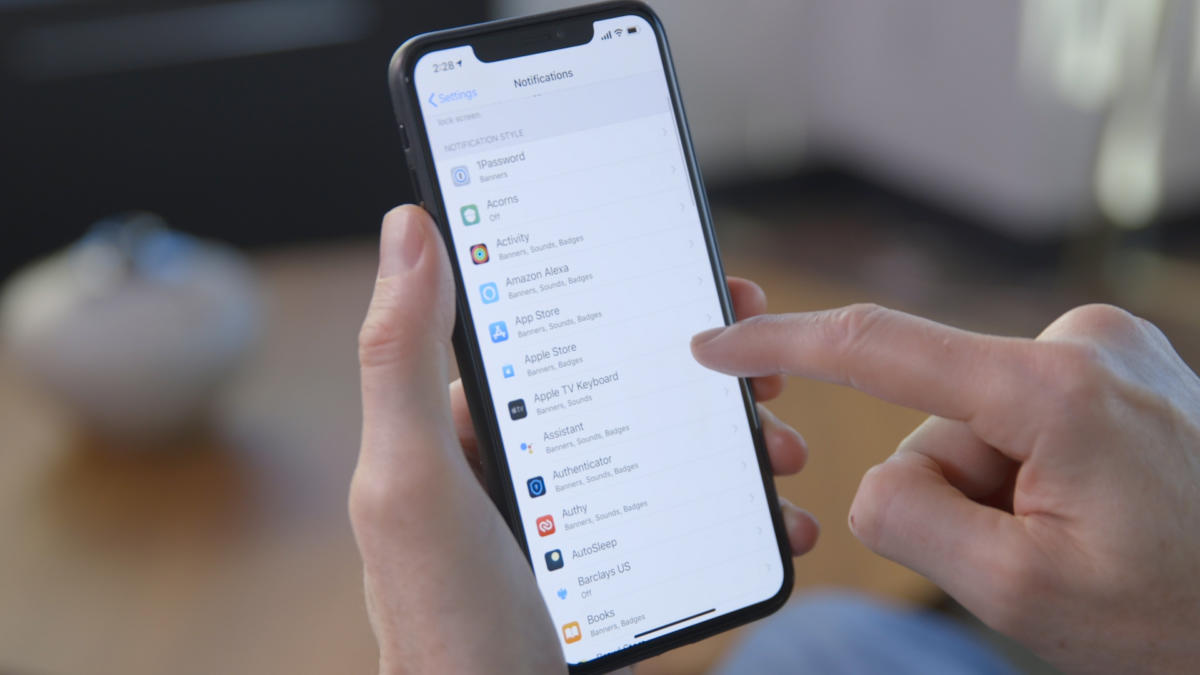
The easiest way to convert HEIC to JPG with iPhone is by using its built-in options. Go to the iOS settings app and find the “Camera” option. After that, choosing the option “Formats” and pick the “most compatible” for JPG and “high efficiency” for images with HEIC file format. Now, every photo taken with your iPhone will be in the chosen file format.
The other way to convert HEIC to JPG with iPhone is transferring files to Mac or PC. Yes, it’s kind of cheating, but hey, it works. And you don’t have to use any online free tools or apps.
Convert HEIC to JPG with iPhone using file-sync fixes
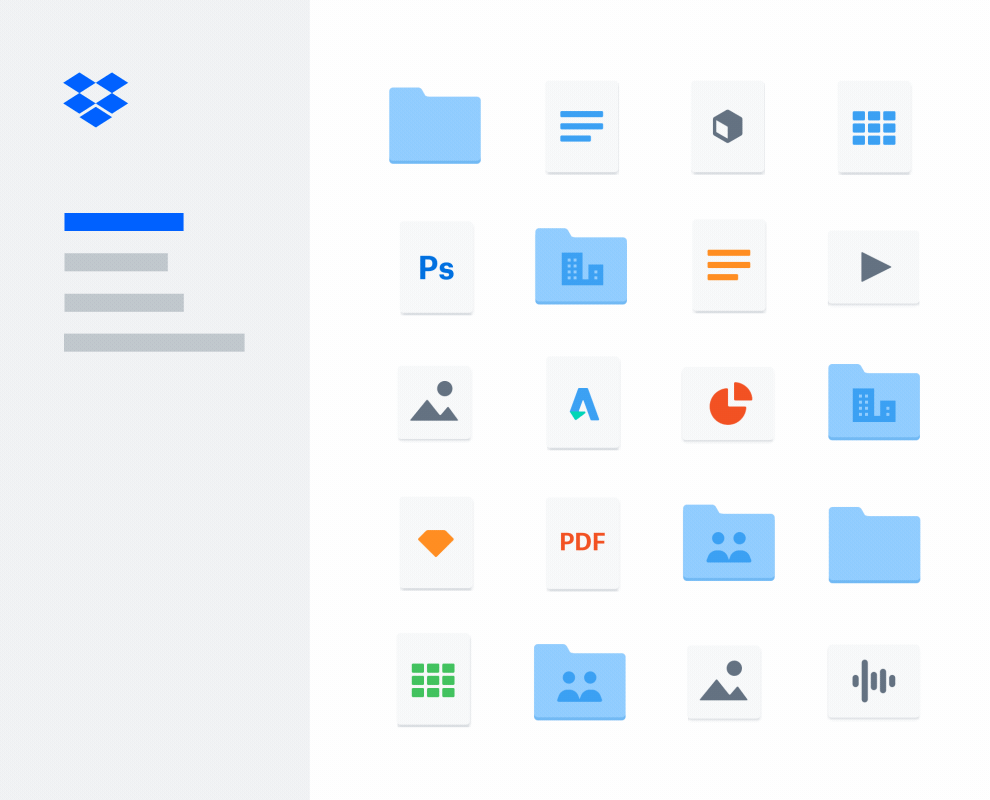
A lot of file-sync apps automatically convert HEIC to JPG. The most famous are Dropbox, Microsoft OneDrive, and Google Drive. But the downside of this is that you lose HEIC files unless you change the settings to keep both HEIC and JPG.
If you are using Dropbox, you will change this setting in the following way. After you’ve opened the Dropbox app, find the “Recents” tab at the bottom left and click on it. Next, choose the settings gear icon that is on the upper right, and click on “Camera uploads”. Now, change the option to “Save HEIC photos”, and that’s it. It is how you can convert HEIC to JPG with iPhone by keeping both file formats in your archive.
If you prefer OneDrive more, there is an option in “Advanced Settings” that is called “Upload most compatible”. After picking the previously mentioned option, your files will automatically convert from HEIC to JPG. On the other hand, if you want to keep the original HEIC files, turn this option off.
And there you have it, the fastest and easiest ways to convert HEIC to JPG with iPhone and a few more apps (but not necessarily).