The best ORF to JPG converter

Did you ever had to use ORF to JPG converter, but didn’t know which one to use? No, it is not you, because yes, it is hard to pick the right one for your needs. Luckily, we are here to present all the solutions we found, tried, and were satisfied with them.
But first thing is first, let us talk about file formats for a bit. If you ever owned an Olympus digital camera, you are well-aware of the ORF file extension. Even if you never paid attention to it, no worries, we’ve got you covered.
ORF file is a native raw image format used by famous Olympus digital cameras, and the JPG file is the most widely used image compression standard in the world. The two of them work perfectly on digital cameras, but sometimes one of them isn’t recognized by some programs and apps. Yes, that’s right, we’re talking about ORF file extension.
You might think that now is the right time to use ORF to JPG converter, but before that, you should know a few details about each file format and their features.
On this page:
Before using ORF to JPG converter, learn about their features
As we previously mentioned, the ORF file extension is an Olympus raw image. Its purpose is to develop image trough on-spot processing software and adjusting things like exposure, white balance, and contrast. Later, these files are stored in some other popular formats, such as JPG and TIFF.
ORF files also have a header feature that keeps the information about image color temperature, contrast, and metadata with the camera’s technical characteristics. As far as resolution goes, an ORF file contains 12, 14, or more bits per pixel per channel of the image, which is not the case with compressed file format such as JPEG that only has 8.
On the other hand, JPG files are usually with 10:1 compression and a small loss in image quality. Because it’s so widely used, this type of file format is supported by many free and commercial image editors, platforms, and browsers. But, if you want to edit your images, keep the file quality but, at the same time, give those colors a bit of extra flavor with a few adjustments and filters, that you should use raw files.
In the end, it’s up to you wither you want better quality and bigger files, or more storage space and images with slightly reduced image quality.
However, if the camera has the “RAW+JPG” option, the shoots will be saved in both ORF and JPEG extension, and there will be no problems with file viewing, printing, editing, etc.
The easiest way to open raw Olympus files and convert them from ORF to JPG or TIFF is to use Olympus Workspace, but there are other ways too.
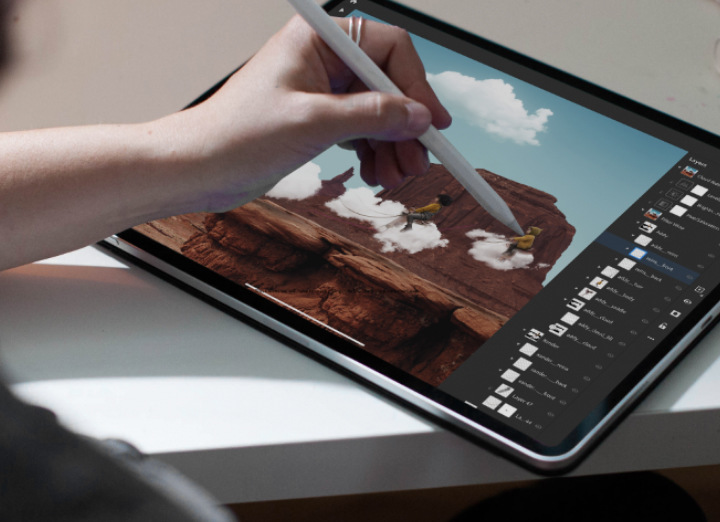
Adobe Photoshop as ORF to JPG converter
One of the most popular photo editing software is Adobe Photoshop. Because of its popularity, it supports a lot of different image file formats, and one of them is ORF. If you only want to use this tool as ORF to JPG converter, there are only three steps you have to follow.
STEP 1: Launch Adobe Photoshop.
STEP 2: Import ORF files with a simple drag and drop, or go to Files option on the top and select Open.
STEP 3: Export your file in a different format such as JPG, PNG, SVG, or any other.
And there you have it. You have successfully used Adobe Photoshop as an ORF converter. But honestly, using this powerful tool just as a converter is a waste of it. While you’re there, you should do a little bit of editing, if nothing, to explore all its features.
Yes, you have to pay to use Adobe Photoshop, but there is also a 7-day free trial you can use to see if this editor is good enough for you. And trust us, it is.
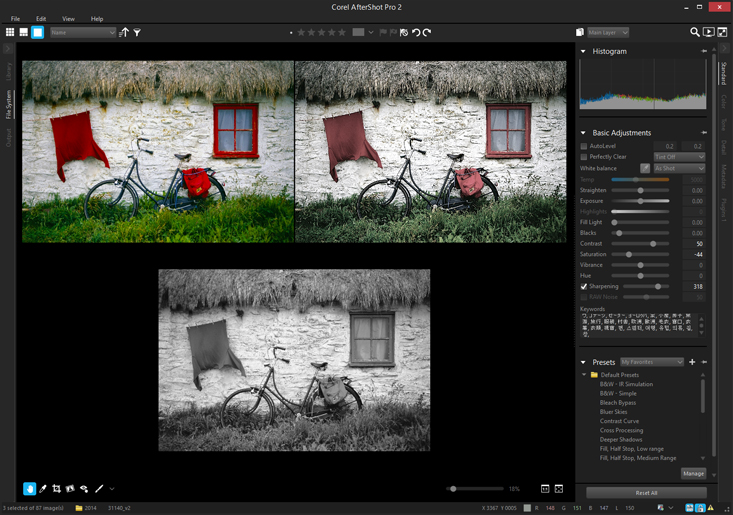
Corel AfterShot as ORF to JPG converter
Another way to convert your image files is to use Corel AfterShot as ORF to JPG converter. Corel AfterShot is an efficient and powerful image editor with a lot of tools and features. Besides, files created using this editing tool are compatible with the previously mentioned Adobe Photoshop.
We could talk for days about all features and reasons you should choose this editing tool, but it’s time to get back to the converting part of the story. So, the number one fact is that you can easily open ORF files with AfterShot and export it in another file format. It means you can convert ORF to JPG following a (more or less) simple four-step process.
STEP 1: Start with launching AfterShot.
STEP 2: Choose an ORF file you want to import into the editor.
STEP 3: You’ve imported your image, and now you can do a bit of editing if needed, of course. This step is optional, and all up to you because let’s face it, no one can make you edit your images if you are happy with how they look.
STEP 4: Export your ORF file as JPG or any other image file format. And that’s it.
Besides ORF and JPG files, AfterShot opens many more file extensions including, CR2, NEF, DNG, ARW, RW2, RAW, DCR, and PEF. Plus, you can use a 30-day free trial to try all features of a Corel AfterShot. If you don’t like it, uninstall it. But, we are quite sure that this editing tool will make you fall in love with it.
Online ORF to JPG converter
Sure, there are also other image editors both free and paid ones you can use, but there is one more way – online converter. For example, you can use our Converter365, or you can choose some other free tool.
There are a few advantages of online tools, and here are just some of them:
– They are mostly easy to use, and you don’t have to have any image editing knowledge,
– They are free and online which means you only have to have your PC or any other device that uses Wi-Fi,
– They provide high-quality conversions.
– They are quite safe if you use recommended ones,
– They are fast, and most of the time, you need just a minute or two to convert your files.