How to add files to an existing zipped archive in the latest version of Windows?

Every once in a while, we need to add files to an existing zipped archive. Sometimes, we need a little help, especially when it comes to the latest version of Windows. Luckily, we found the perfect way to do this, and we are more than happy to share this information with you.
You are probably well-aware that a process of yipping files is usually the final sort of act. However, there is a way to add files to an existing zipped archive. If not, you can always use our archive converter and do it all over again. But first, let us remind you what a ZIP file is.
On this page:
What is a ZIP file?
ZIP is an archive file format that supports lossless data compression. It can contain one file or more of them. Although the ZIP file is quite old (it was created way back in 1989), it is still a widely used file format. And we must say it’s no wonder. This type of file format uses many different methods to compress files, and it is compatible with most devices and apps.
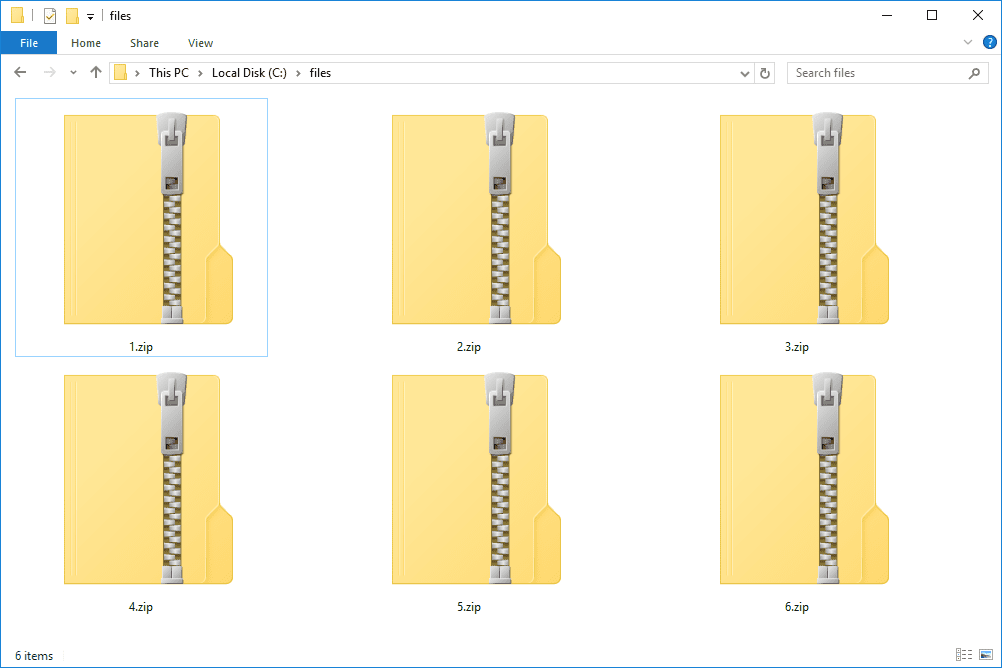
Each zipped file is stored separately, meaning different types of files are compressed differently. For example, audio files and documents require a specific type of compression, and ZIP files do that. That is the main reason why it’s possible to add files to an existing zipped archive.
How to add files to an existing zipped archive with WinZip?
You can add files to an existing zipped archive with a little help from WinZip. The process itself isn’t complicated, and all you have to do is follow the steps we gave you below.
Step 1
Open the archive you want to add your files to and find the Create/Share or Edit tab. Next, click From PC or Cloud option to add your files.
Step 2
After choosing one of the previously mentioned options, the Add window will appear. Browse the file location you want to add and select them. Use the Ctrl + Shift to select more than one or drag the mouse over them.
Step 3
If you are done with the file selection, click on the Add button, and your files will be added to WinZip.
Step 4
When the adding process is finished, the newly added files will display in the list of files in the main WinZip window. The same goes for all existing files, too.
Step 5
Click on the File tab, and choose the Save or Save As option (just in case you want to use a new name for the updated zip file).
And that is it. Now, you know the answer to the ‘how to add files to an existing zipped archive with WinZip’ question.
How to add files to an existing zipped archive with 7-zip?
To add files to an existing zipped archive, you can also use another famous archive called 7-zip. All you have to do is follow the steps that we wrote for you, and all your files will be added in no time.
Step 1
First, open 7-zip and the folder that has the ZIP file in it right after. You should also open the file you want to add there.
Step 2
At the top, click on the Add button.
Step 3
Next, change the archive format to ZIP and the update mode to Update and add files.
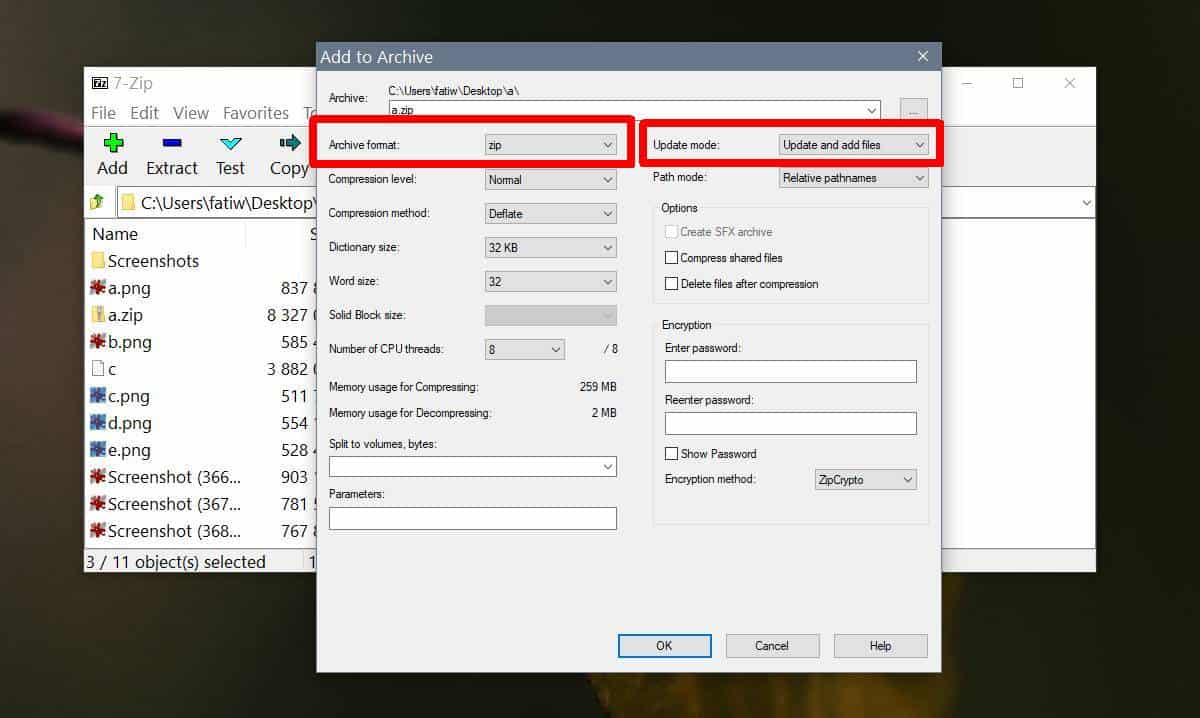
Step 4
Then, click on the OK button to add your files.
And there you have it. It is the fastest way to add files to an existing zipped archive with 7-zip. Quite simple, don’t you think?
You can also do this with other archive file formats if you change the file format in the third step of the process.