How to convert XCF to JPG file format?
Conversion from XCF to JPG file is necessary if you want to open, send, or share photos in a more usable format that most image apps can open. Since XCF files are mostly generated with the GNU Image Manipulation Program (GIMP), not many other image displaying programs recognize this format. Opening and editing the XCF files outside of GIMP is possible with a few applications. However, it is much easier to convert XCF to JPG format to make your work more accessible.
If you ever used GIMP and have a bunch of XCF files or your colleague, graphic designer, friend, or someone else sent you images in this format; you’ll be relieved to know that there is more than one way to open or edit them.
For a fast solution, you can use free online XCF to JPG converter and view the content of your files in just a few clicks. If you already have GIMP installed, depending on the program version, you can effortlessly export JPG format from XCF files. The process of exporting XCF to JPG is explained in detail in this article, as is the conversion process, which takes even less time.
First, let’s learn more about XCF and JPG formats, their strengths and disadvantages, to decide which format is more suitable for which purpose. Also, it is easier to decide whether or not you should install GIMP with learning more facts about this free image software.
On this page:
Differences between XCF and JPG
XCF is format native to GIMP, and as of version 2.8, it is the default format this program saves all images in independently of what format they were before loading. Suppose you intend to continue working on some pictures, then you can keep it in the XCF format. All your data will be saved so you could easily continue just where you left off in editing.
Even though XCF files usually contain layers, channels, paths, guides, support transparency, and other useful settings regarding manipulating images, there are few disadvantages of using this format that is often compared to Photoshop PSD. The main issue with XCF format is that it is not compatible with most image handling programs.
On the other hand, JPG or JPEG is the most popular image format that has support in most image processing programs. As the best-suited format for transferring, sharing, or viewing images, JPG has earned its place. Also, its balance between image qualities versus file size, it’s excellent. That may be because JPG has compression that can reduce file size to the tenth of its size without jeopardizing image quality.
Depending on your needs, you can choose which format to use. However, you should know that when you convert XCF to JPG, it is impossible to access layers and other XCF elements of your image in JPG format. If you want to share your photos, then converting to JPG format is necessary.
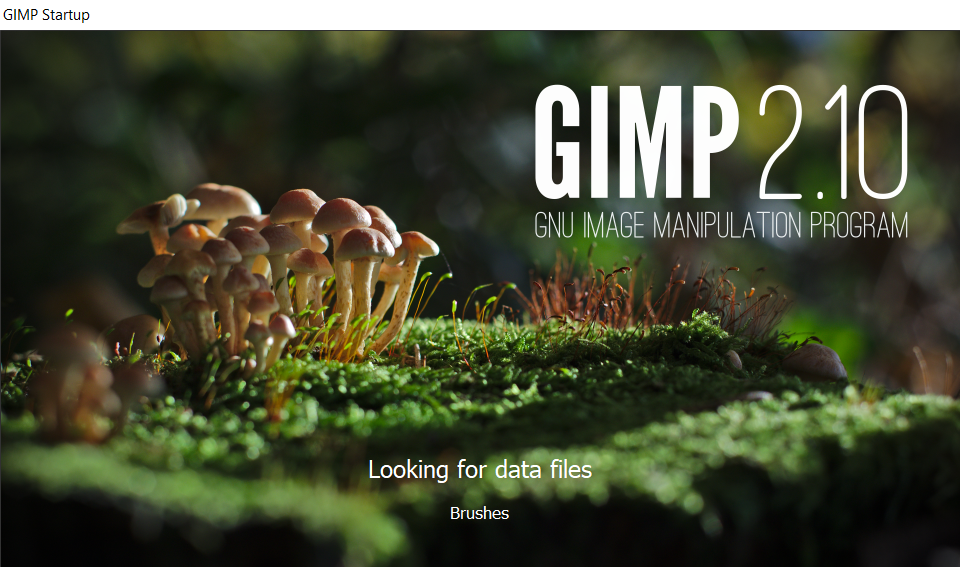
More about open-sourced image manipulation program GIMP
The eXperimental Computing Facility at UC Berkeley is where GIMP was initially started its development process. It is available on different operating systems such as Windows, Linux, OS X, etc. As an open-sourced project, GIMP improved tremendously and with it its possibilities and advancement in settings of manipulating images.
Graphic designers, photographers, and many other professionals use GIMP to create, retouch, render, enhance, or otherwise manipulate images. Another useful feature is its compatibility between different versions. Namely, you can open XCF files created with later versions of GIMP with some older releases, and newer versions can mostly open files from earlier versions.

However, with version 2.8 and later on, GIMP users were not very pleased with its feature to automatically save to XCF format to prevent users from losing layers by accident.
How to use GIMP to export XCF to JPG?
If you have current GIMP version 2.10 on your PC or want to install it, you will be able to convert XCF to JPG file format with its export option. Follow the three-step instructions, and your images will be in JPG format in no time.
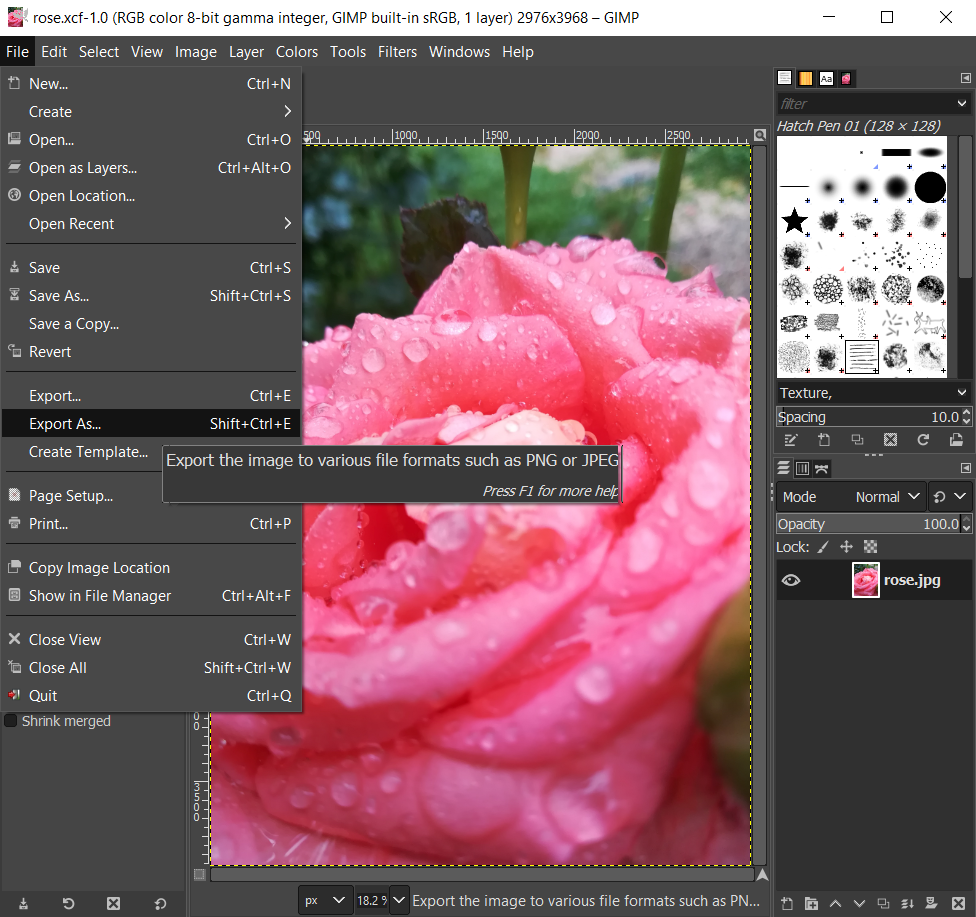
Step 1
Open your XCF image in GIMP and go to the File menu and select Export As or press CTRL and E on your keyboard.
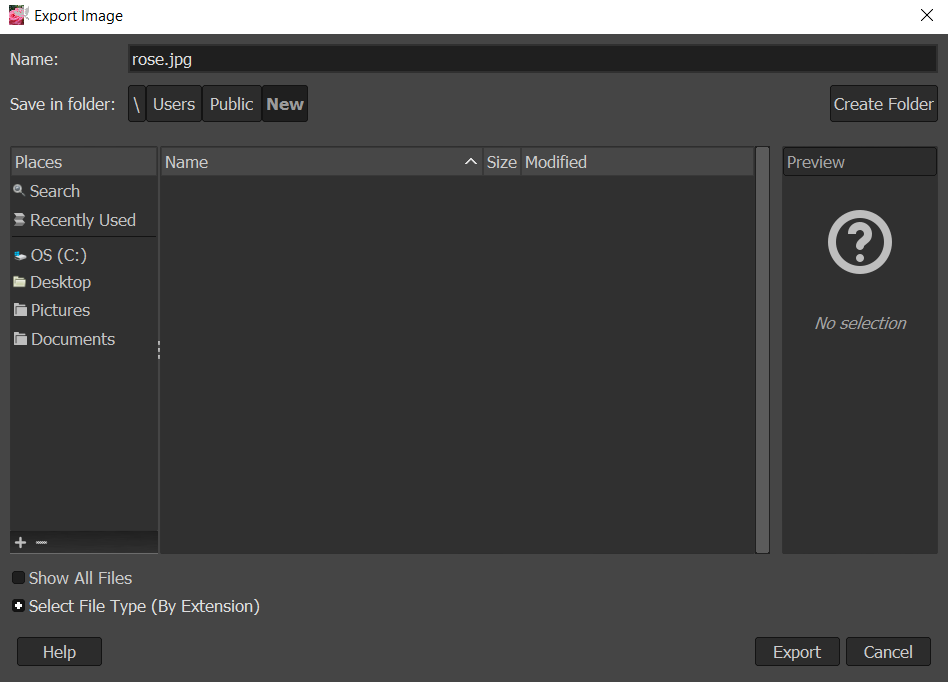
Step 2
Next to the Name field type in the extension JPG or other image format, you want PNG or TIF, etc. For example, instead rose.xcf type in rose.jpg. Also, select to which folder to save your image with option Save in folder.
Step 3
All that is left to do is press the Export button on the bottom of the window. With this option, you’ll open advanced settings where you can adjust Quality, Smoothing, DCT method, etc.

Press on the Export button again, and in a few moments, your JPG file will save in the folder you chose.
How to convert XCF to JPG with an online tool?
If you received XCF files and never used them before, and you don’t want to waste time installing third party software, then the best option for you is free online converter365.com.
With this online tool, you can convert XCF to JPG file and much more. Among available formats for conversion, there are the most well-known image, vector, document, and archive formats.
After uploading your image to the XCF converter, you’ll even get advanced settings to normalize, enhance, sharpen, equalize, etc. your picture. Press on the Start conversion button, and in a few moments, your download link with a converted image file will be available directly on the website.
There is no need for registration, you don’t have to install new software, and this converter works on every OS with a browser and Internet connection. On top of that, it’s entirely free to convert XCF to JPG, TIF, PNG, BMP, and many more supported formats.